#1. The idea
This idea arose from the combination of two distinct needs. Firstly, there was a need to find a new place to host the websites, to ensure they were always online. Secondly, there was a need to create a NAS (Network Attached Storage), a network storage system, to organize and preserve images, videos and other files in a centralized and accessible way. The combination of these two needs resulted in the investment of a Raspberry Pi, which I considered the best solution.
#2. Why a Raspberry Pi?
While some may question whether the Raspberry Pi is the best choice for a server, in my opinion it is surprisingly powerful for a microcomputer. Furthermore, Raspberry Pi has huge community support due to its popularity and wide usage. The fact that the suit is compact also contributes to low energy consumption, making it a very efficient option.
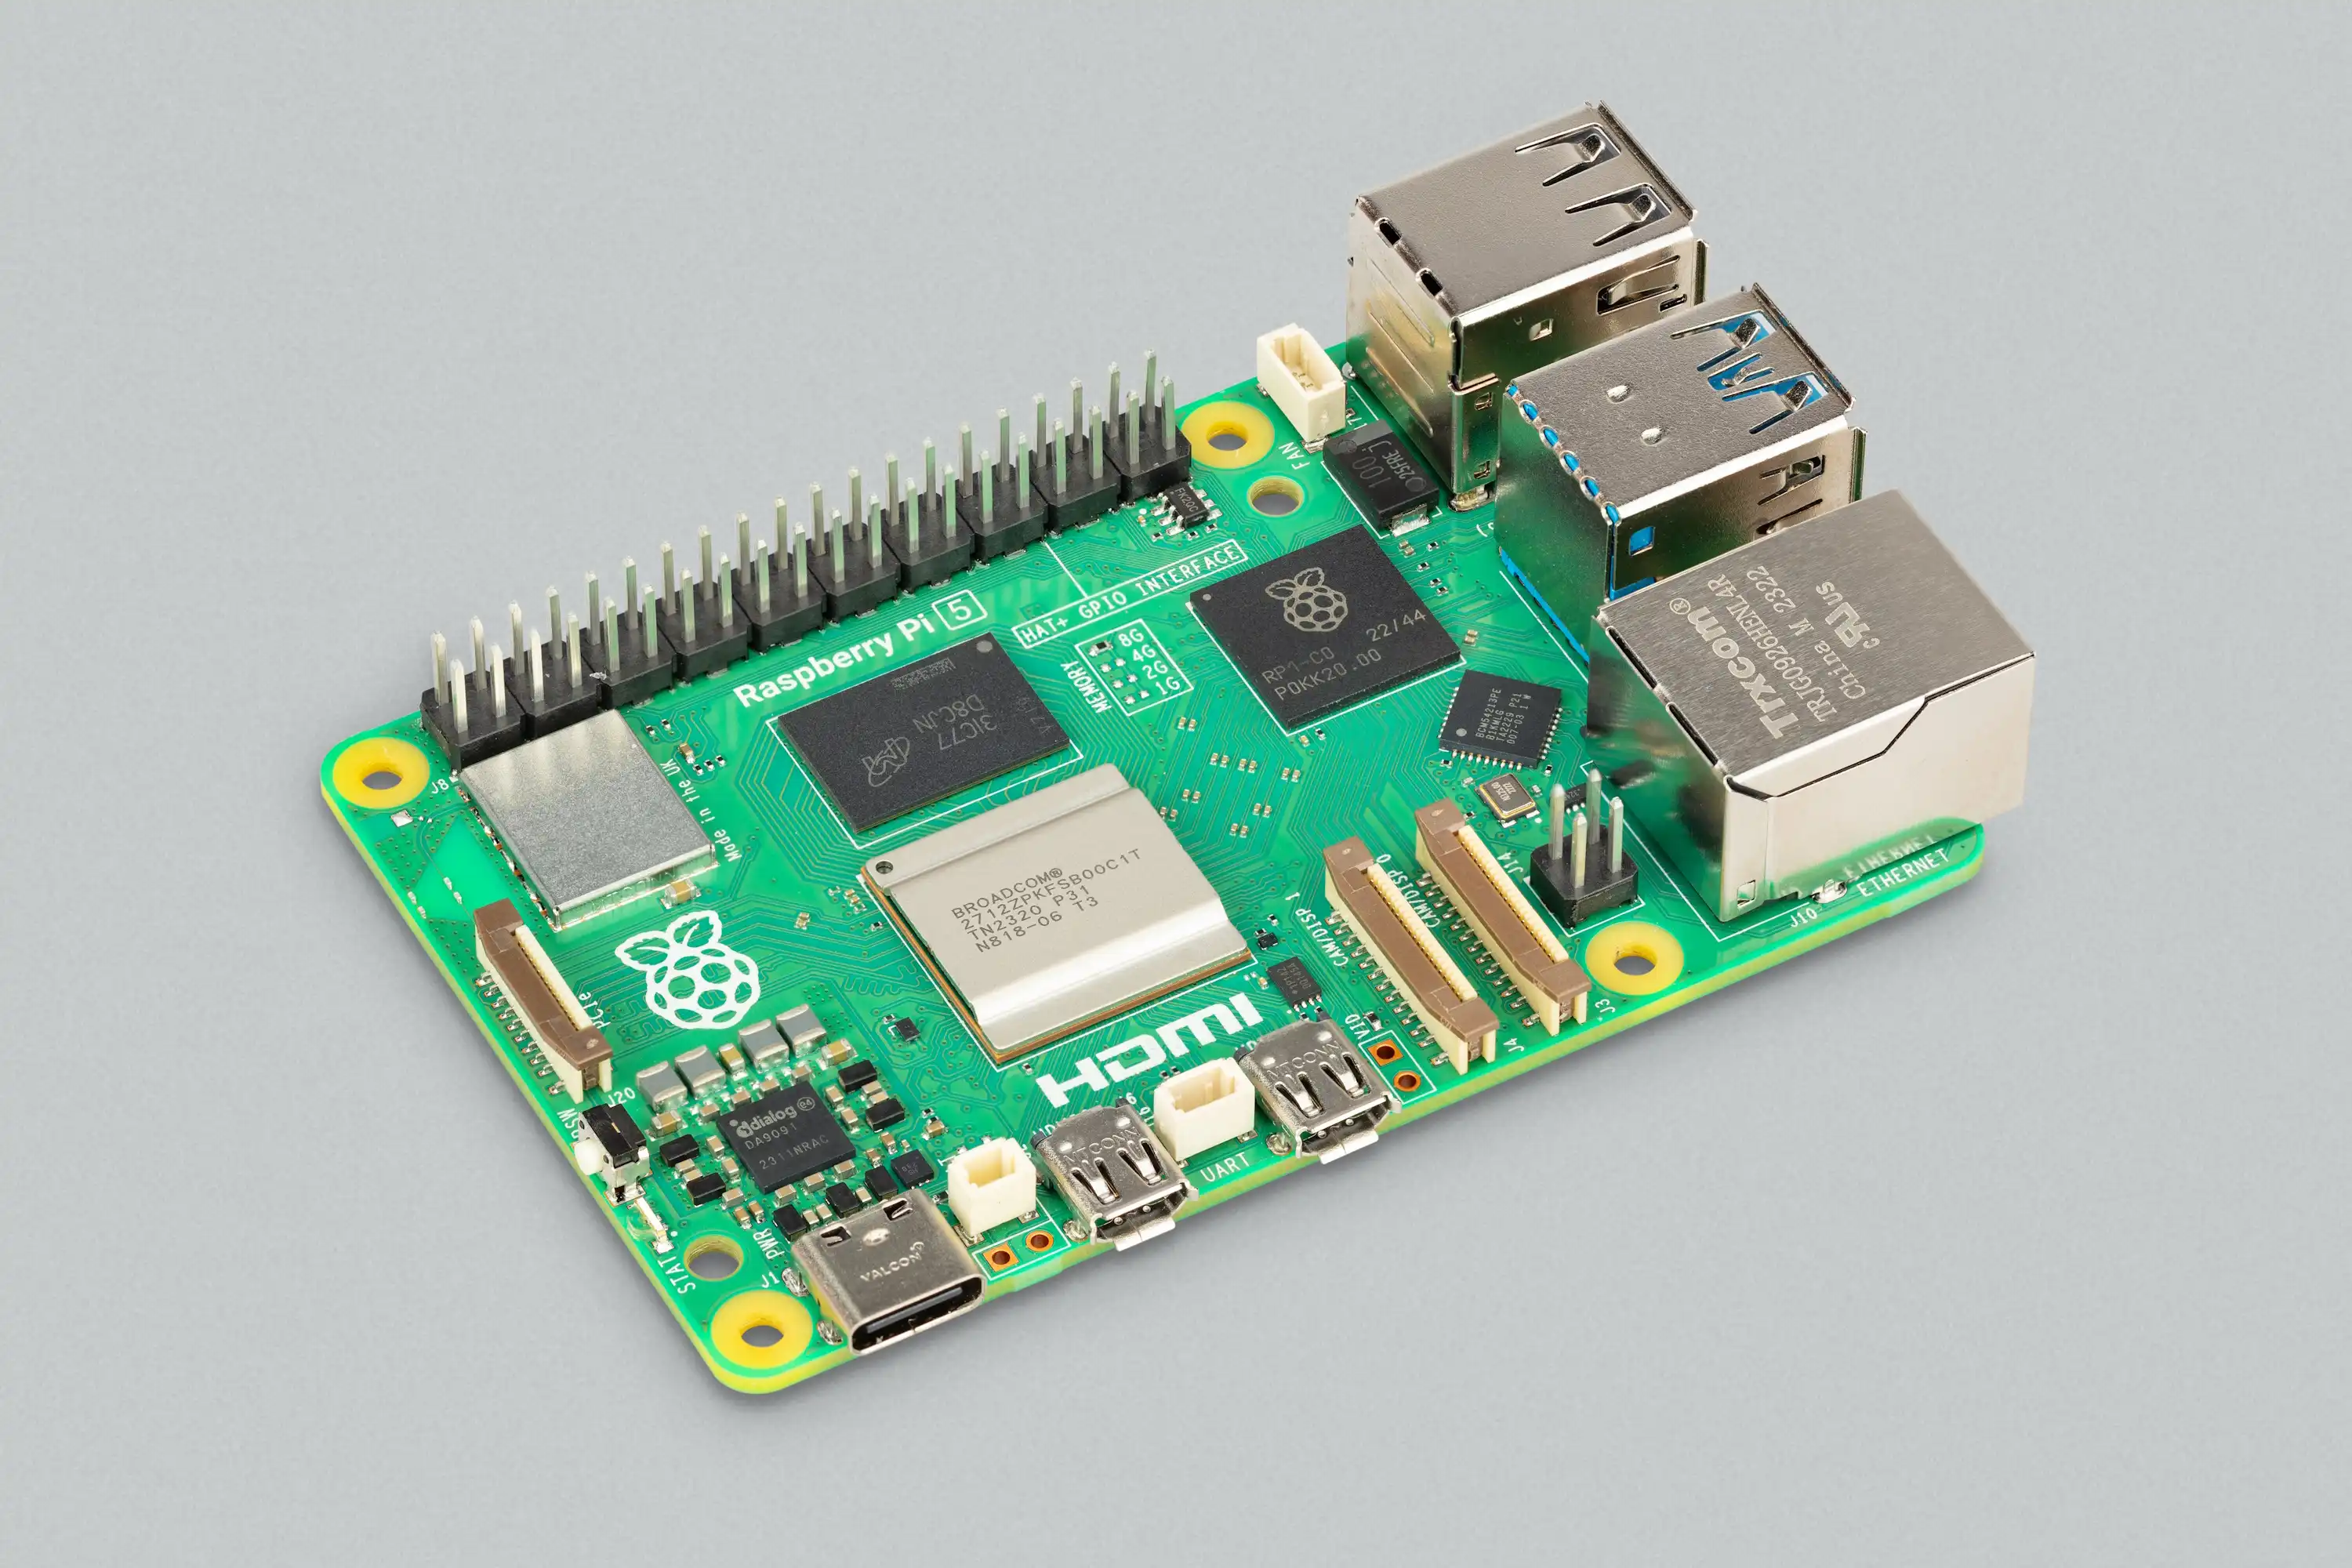
#3. What did I buy?
I decided to purchase four items: the Raspberry Pi 5, its active cooler, the dedicated power supply and the corresponding case.
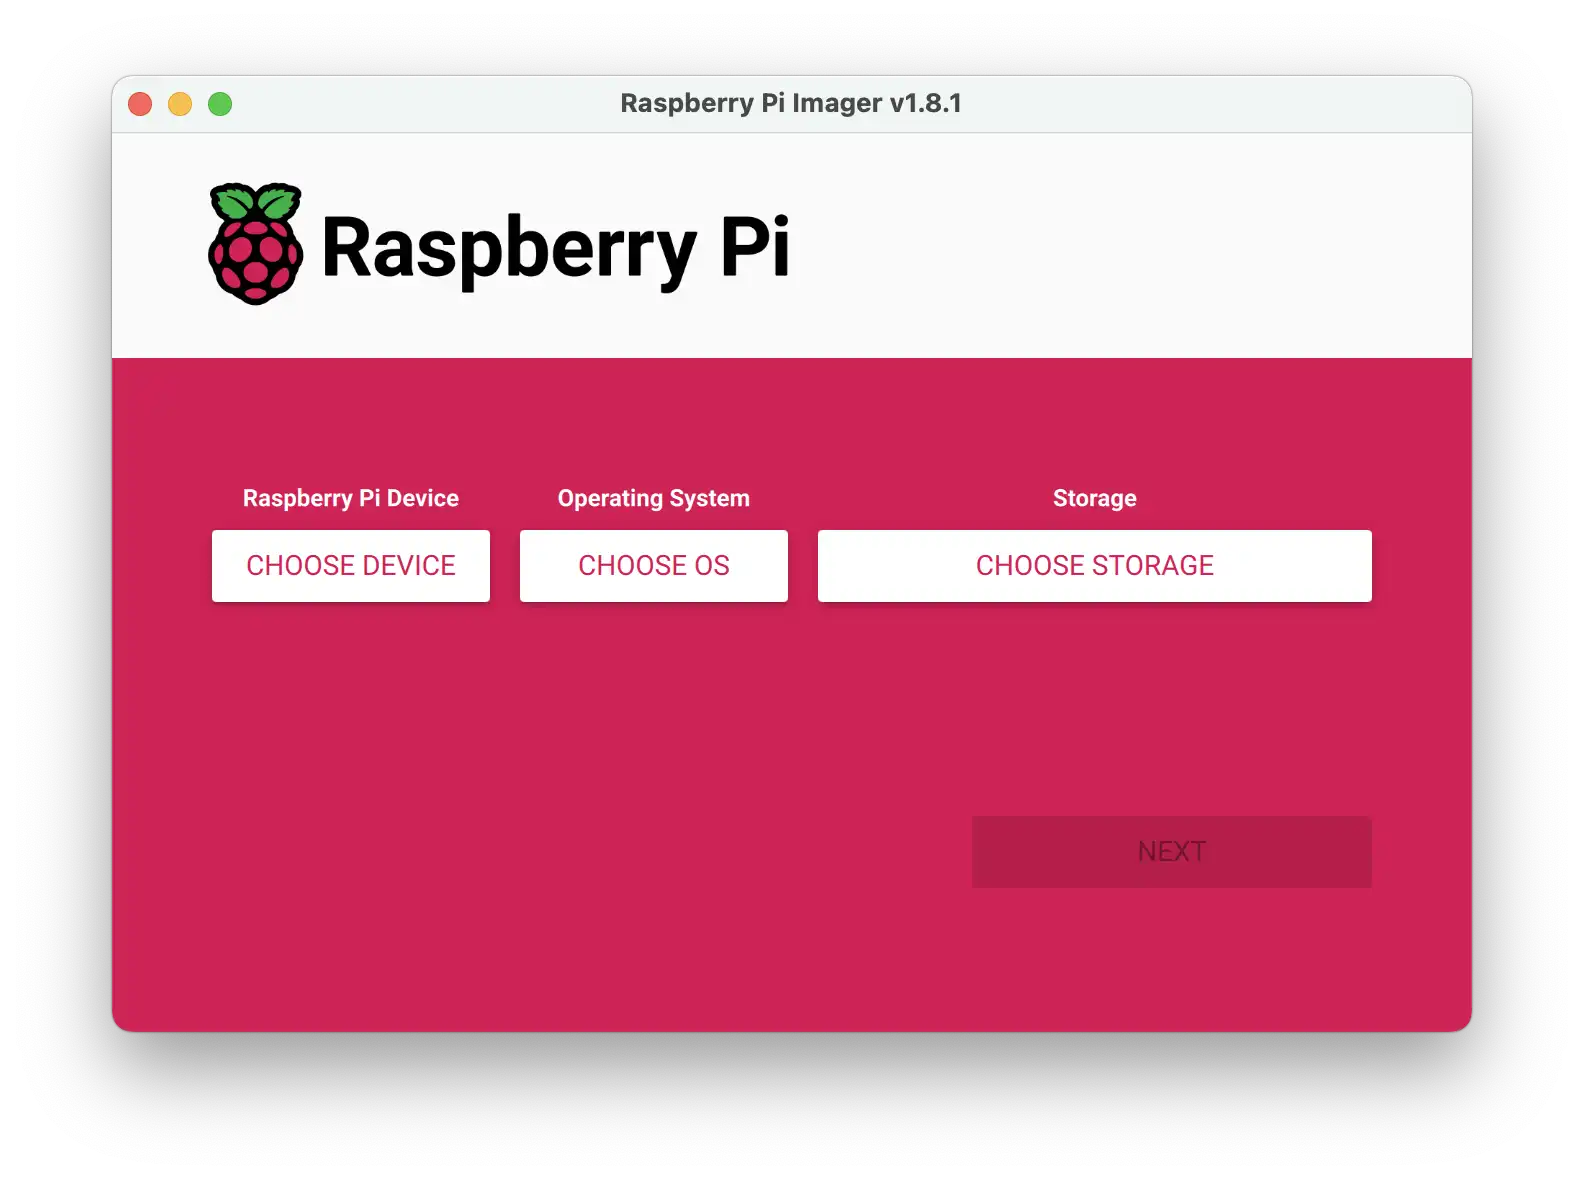
#4. SO Instalation
To install the operating system on the Raspberry Pi, I started by installing the Raspberry Pi Imager on my computer.
Raspberry Pi Imager is software that facilitates the process of installing operating systems on Raspberry Pi. It allows you to select and write the desired operating system directly to a microSD card or USB drive, which will then be used on the Raspberry Pi.
The process is very easy: just open the program, choose the operating system from the list (such as Raspberry Pi OS, Ubuntu, or other compatible systems), select the storage device and click "Write". The Imager does all the work, downloading the operating system image and writing it to the card quickly and automatically, ready to be used on the Raspberry Pi.
#5. Assembly and Configuration
Probably the big question on their mind is: how did I set up the sites?
To do this, I followed these tutorials:
1. DigitalOcean's tutorial, which explains in detail how to configure server blocks (Virtual Hosts) in Nginx, using Ubuntu 16.04. You can consult it here.
2. The Certbot guide, which teaches you how to install and configure SSL certificates to ensure connection security. Find the instructions at this link.
Unfortunately, I didn't record a specific video of the setup process. However, you can see the unboxing, review and general setup in my video, available on YouTube here.
#6. Additional Information
What is Nginx and what is it for?
Nginx is a highly efficient and lightweight web server widely used to serve web pages from a server. In addition to acting as an HTTP server, it can also function as a reverse proxy, load balancer and email server (IMAP/POP3). It is widely preferred for its ability to handle a large volume of traffic with low resource consumption, making it ideal for high-performance websites.
In summary, Nginx is responsible for:
Serve web content: such as HTML pages, images, videos and other static files.
Manage traffic: Distribute user requests efficiently to ensure sites remain fast and stable, even under high load.
Reverse Proxy: Routing requests to other servers, protecting and optimizing backend resources.
What is Certbot and what is it for?
Certbot is a tool that allows you to obtain and renew free SSL/TLS certificates from Let's Encrypt. These certificates are essential to ensure that communication between users and the web server is secure, through data encryption. Certbot simplifies the entire process of installing and managing certificates, making it easier to implement HTTPS on websites.
#7. Video
Here is the video with the analysis, unboxing and assembly of the Raspberry Pi.